This is an old revision of the document!
Table of Contents
Approach Training
Move your aircraft on an approach, to a runway takeoff point, on a helipad, a gate or parking position or any other custom geographical location you choose.
Airport Selection
There are two options to select an airport.
Directly by ICAO Code

Just enter the ICAO code of the airport in the corresponding field and the airport will load immediately.
Alternatively you can also use the button Random to choose a random airport.
Search for Airport

Click on this button to open the Select Airport dialog.
Airport Information
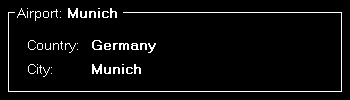
Here you can see the name, country as well as city of the currently selected airport.
Runways or Helipads
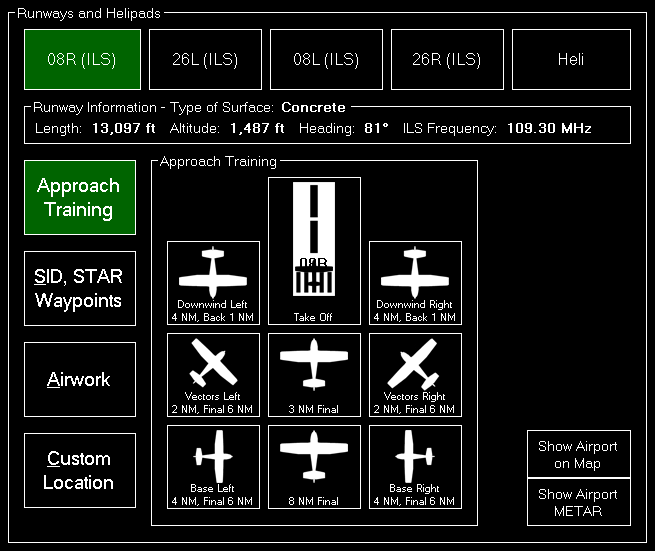
Now you can choose on which runway or helipad you want your aircraft to be place.
 Note: This selection can also be directly accessed by the keyboard shortcut
 N.
Runway/Helipad Information

After selecting a runway some additional information about this runway is displayed.
For helipads this information is not displayed before you choose a specific helipad in the next step.
Approach Training
Note: This option is only available if you chose a runway.
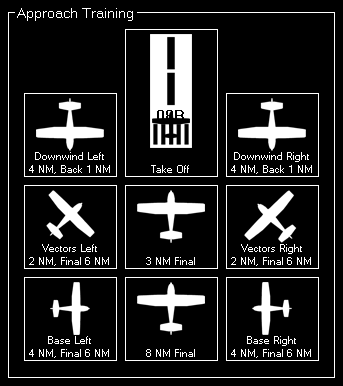
To start an approach training just click on one of the button to place your aircraft it the corresponding position.
If the runway is ILS enabled the correct altitude above ground will be calculated using the runway-specific glideslope degree. Otherwise the default of 3° will be used.
All parameters like distance to landing point for the two final positions, distance for the base positions or altitude above ground for the downwind positions can be configured in the Settings module.
Helipads
Note: This option is only available if you chose Heli.
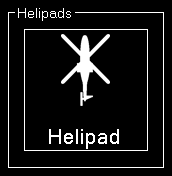
Click on one of the helipad buttons to place the aircraft on a helipad.
SID and STAR Waypoints
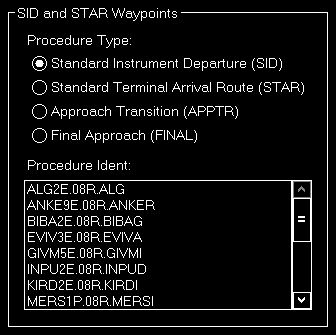
You can place your aircraft directly on a waypoint of a Standard Instrument Departure (SID) or Standard Terminal Arrival Route (STAR).
First select which the desired procedure type - SID oder STAR - and then the procedure ident. Finally you can select one waypoint of the procedure you have chosen.
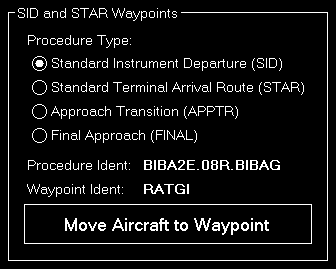
Now click on the button Move Aircraft to Waypoint to change the aircraft position accordingly.
Note: The aircraft will be automatically set in a way that the heading matches the direction to the next waypoint in the procedure.
Airworks

Choose one of four pre-defined flight levels to start your airworks.
Of course, also these altitudes can be easily changed in the Settings module.
Custom Location
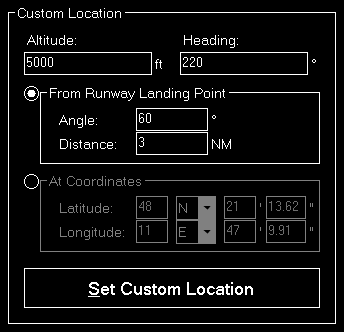
If you want your aircraft to be place at a completely custom location, this is the right section for you.
First enter the desired altitude (above MSL) and heading of the aircraft. Then you can choose from two options to define the position.
From Runway Landing Point
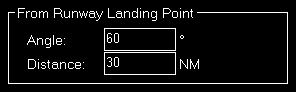
Using this option the aircraft will be move a definable distance away from the runway landing point in the entered direction.
At Coordinate
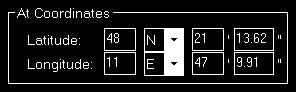
Or you can just enter the exact geographic coordinates manually where you want the aircraft to be place.
The fields are pre-filled with the coordinates of the currently loaded airport.
Gate or Parking

You can also place your aircraft on a gate or parking position.
Therefore first select the type and then a specific gate or parking.
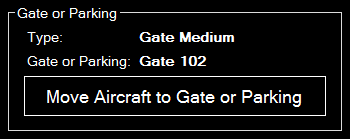
And then click on the button Move Aircraft to Gate or Parking to finally place the aircraft.
Options

Here you can find several options like speed and gear/flaps status that are used when placing the aircraft.
All options are saved upon change and can even be defined on a per-aircraft level when aircraft profiles are enabled in the Settings module.
Note: When aircraft is placed on ground gear is always extended and ILS frequency can only be set obviously if the runway is ILS enabled.
Flight Situation Presets
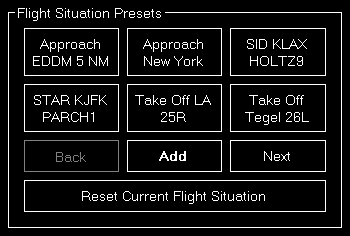
Here you can save the current flight situation including aircraft position, altitude, speed, heading as well as pitch and bank angle.
If there are more than 6 presets, you can page through them using the buttons Back and Next.
After clicking on the button Add to create a new situation preset or click on an existent one to send it to the flight simulator.
To reset the simulator you can use the button Reset Current Flight Situation.
Note: For X-Plane this is only available starting from X-Plane version 11.10.
Create New Flight Situation Preset
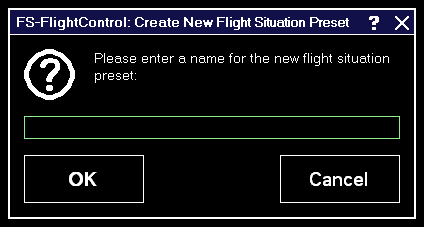
When creating a new flight situation preset, you need to enter a name for it in this dialog.
Pop-Up Menu

If you right click (long “touch”) on a flight situation preset this pop-up menu will be shown enabling you to rename or delete an existent flight situation preset again.
Rename Flight Situation Preset
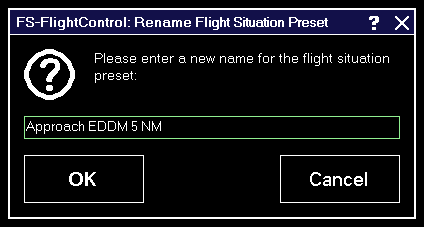
Here you can set a new name for an existent flight situation preset.
Landing Analysis
After you started an approach in this section your approach will be tracked.
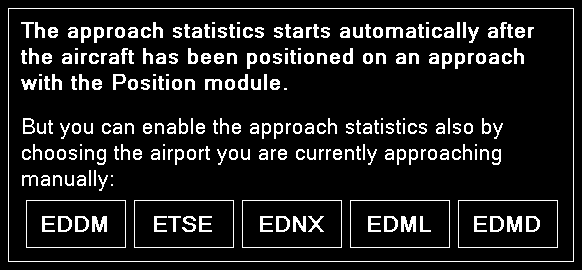
Additionally you have the option to select a near airport directly by just clicking on the ICAO code of the airport that you want to approach.
Note: Selecting an airport here does not change your aircraft position. This just provides you with the option to activate the approach statistics if you approach an airport manually without positioning your aircraft on an approach position first.
Approach Details
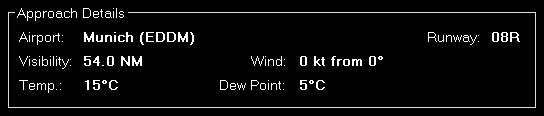
This section shows some details about the current approach like the airport, runway and some visibility information.
Landing Report
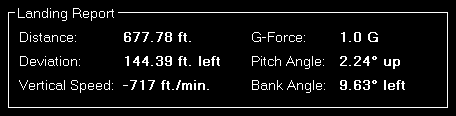
After the approach has been completed and the aircraft is landed, this landing report shows detailed information about how well the landing was.
Localizer Deviation
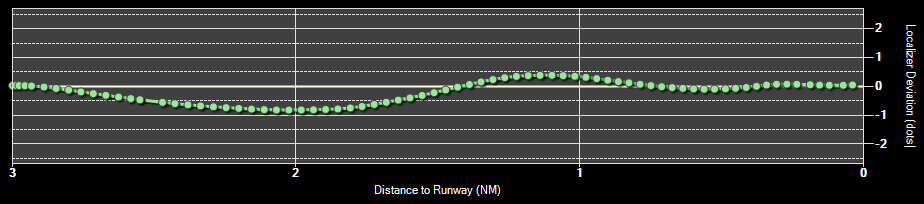
The localizer deviation graph shows the horizontal deviation from the runway localizer (center of the runway) on your approach.
If the graph line goes to the top of the graph the aircraft is left from the localizer and if the line goes to the bottom the aircraft is right from the localizer.
Glideslope Deviation

On the lower approach graph the current aircraft altitude above mean sea level (MSL) as well as the ground altitude is shown.
The yellow straight line shows the ideal glideslope.
If the runway is ILS enabled the correct runway-specific glideslope degree will be used. Otherwise the default of 3° will be used.
Print Approach Statistics

The whole approach statistics can be printed with the button Print Approach Statistics.
Reset

Use the button Reset to reset the approach statistics again.
Settings
Approach Training
These settings are related to the Approach Training module.
General

You can enable or disable some automatizations after an aircraft position is changed.
First choose if pause should be enabled after aircraft move.
Additionally you can define if the program should automatically switch to the Landing Analysis when an approach is started.
Furthermore you can choose here if the scenery should be reloaded after a position is changed.
Note: The forced scenery reload is enabled by default as disabling it may lead to unexpected results (like aircraft crash) especially if the new location is far away from the old one.
Final Position
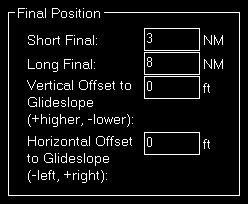
Here you can define the distance of the short and long final approach as well as a vertical and horizontal offset to the glideslope if you want.
Vectors Position
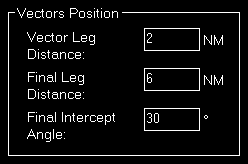
The distances for the vector positions can be changed here as well as the final intercept angle.
Base Position

Define here the distances for the base positions.
Downwind Position
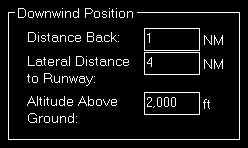
Here you can define the lateral distance to the runway for the downwind positions.
In contrast to the other positions where the altitude is calculated based on the runway glideslope automatically, the altitude for the downwind positions can be customized here.
Airworks
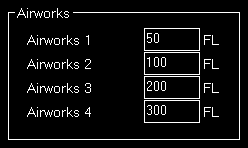
You can define the flight levels of the four airworks buttons here.
Options on Position Change
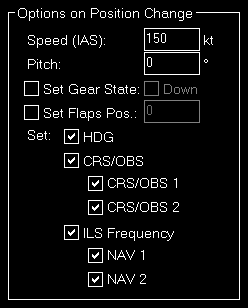
Depending on the aircraft capabilities you can change the parameters that are used when the aircraft is positioned.
This includes whether the heading, course (CRS) respectively omni bearing selector (OBS) or ILS frequency (if the runway is ILS enabled) should be set automatically with the aircraft position change to a certain approach.
Landing Analysis
These settings are related to the Landing Analysis module.
Color Settings
In this area you can customize all colors used to draw the statistics graphs.

All colors can be defined per display type.
Therefore please first select if you want to change the colors for the normal in program display or for printout.
Revert to Defaults

You can easily revert all colors to their defaults by using the Revert to Defaults button.
Colors for Display Type
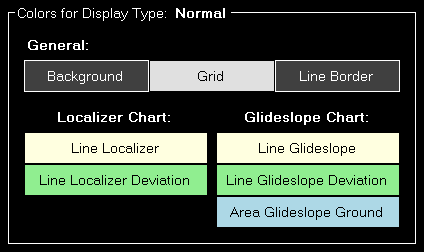
Here all currently defined colors are displayed for the selected display type.
Click on any of the button to select a different color.
Print Options
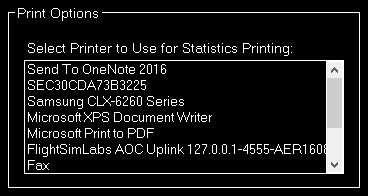
For statistics printing you can define here which printer should be used.