This is an old revision of the document!
Table of Contents
SimConnect Network Wizard
If you want to use FS-FlightControl on a computer other than the computer Prepar3D or FSX is running on, the SimConnect Network Wizard will guide you throught everything needed to enable FS-FlightControl to connect to the remote flight simulator computer.
 Note: This is only needed if FS-FlightControl is not executed on the same computer as Prepar3D or FSX.
You will find the SimConnect Network Wizard below the folder FS-FlightControl in your Windows Documents folder.
Please first copy all files of the SimConnect Network Wizard to your computer where Prepar3D or FSX is installed and then execute the SimConnectNetworkWizard.exe.
Welcome Screen
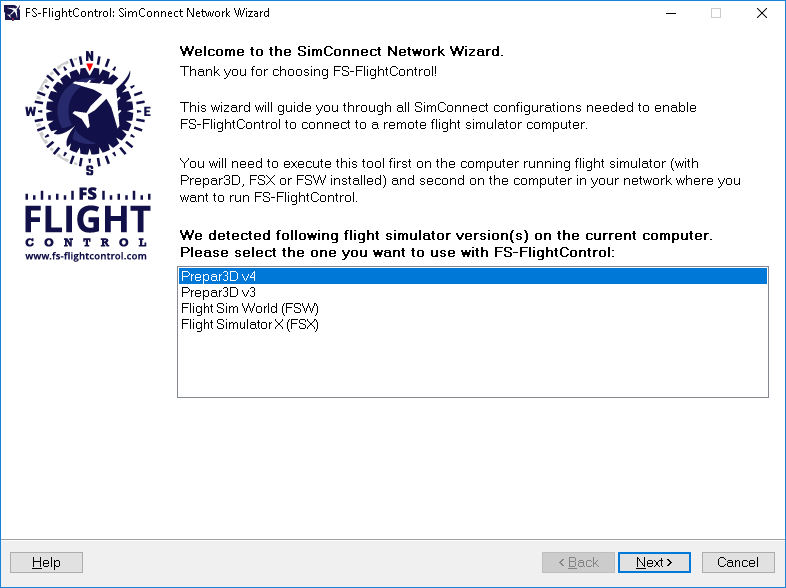
After you started the SimConnect Network Wizard this welcome screen will be displayed.
In case you have more than one compatible flight simulator software installed, please first select which one you would like to use together with FS-FlightControl.
Then please click on the button Next >.
Settings on Flight Simulator Computer
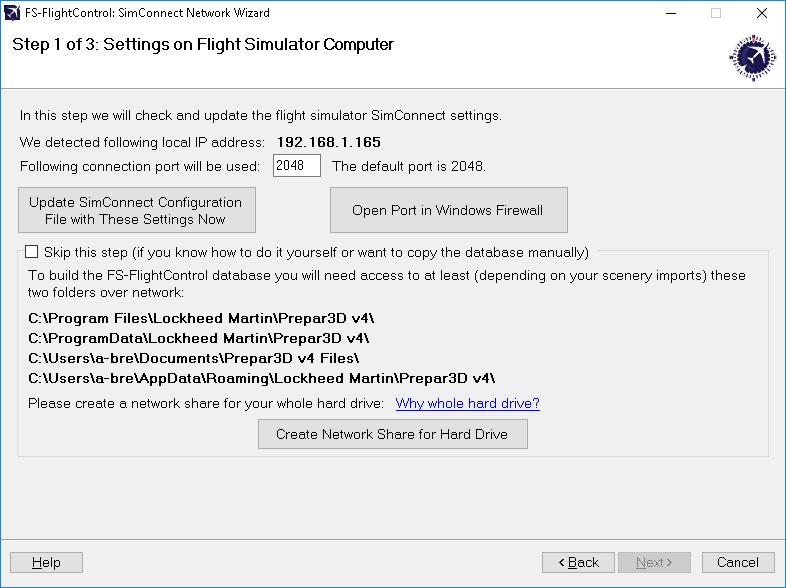
On the next screen, the first step in the setup process, all settings on the flight simulator computer are done.
First the local IP address that will be used to connect to the flight simulator computer is being detected.

In case there is more than one IP address detected, this dialog will pop up asking you to choose the correct one.
Note: Only in rare cases there will be more than one detected. So normally everything is done automatically and you don't need to select anything here. But if this dialog is shown and you don't know which is the correct one, just try and if FS-FlightControl cannot connect with that, just run the wizard again and change the IP address.
Next the port is shown which will be used for connection.
By default port 2048 is used and you normally don't need to change that. But if this port cannot be used on your system for whatever reason, you can change it here.
Now please press the button Update SimConnect Configuration File with These Settings Now to store these network SimConnect settings. In case a SimConnect configuration exists on the computer already, you will be asked to overwrite it. Please confirm that (a backup copy will be created).
Beside accessing the flight simulator directly via SimConnect, you will also need to build the FS-FlightControl database that contains all the information about airports, navigation aids and so on. To be able to build that FS-FlightControl needs access some flight simulator directories.
Therefore you may create a hard drive network share in this wizard step as well by clicking on the button Create Network Share for Hard Drive.
You can also do that manually if you want and for this case there is an option to skip this part of the configuration although we recommend to let the wizard create the network share automatically.
Change Computer
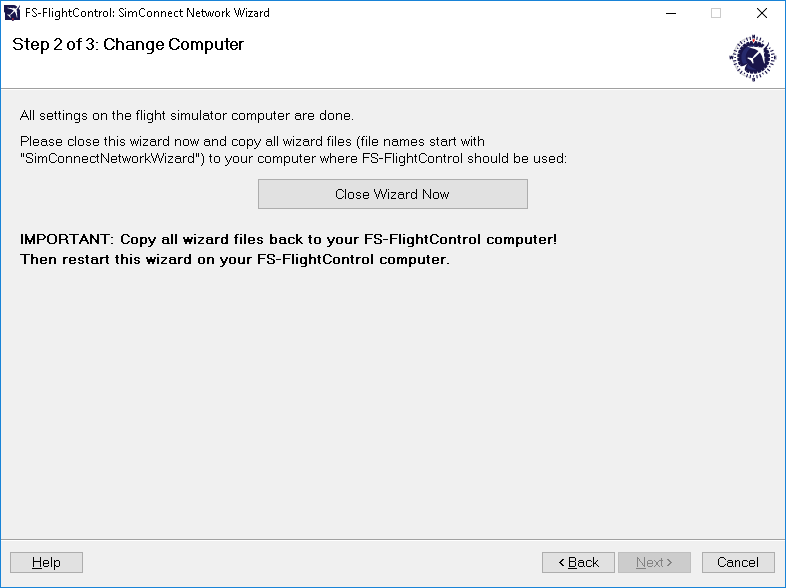
Now everything is done on the flight simulator computer and therefore it is time to go on with the computer that should run FS-FlightControl.
Therefore please close the wizard now, copy all files to the computer that should run FS-FlightControl and start the wizard there again.
Note: It is important that you copy all wizard files to the other computer as they were changed and contain the connection information needed to setup the FS-FlightControl computer.
Settings on FS-FlightControl Computer
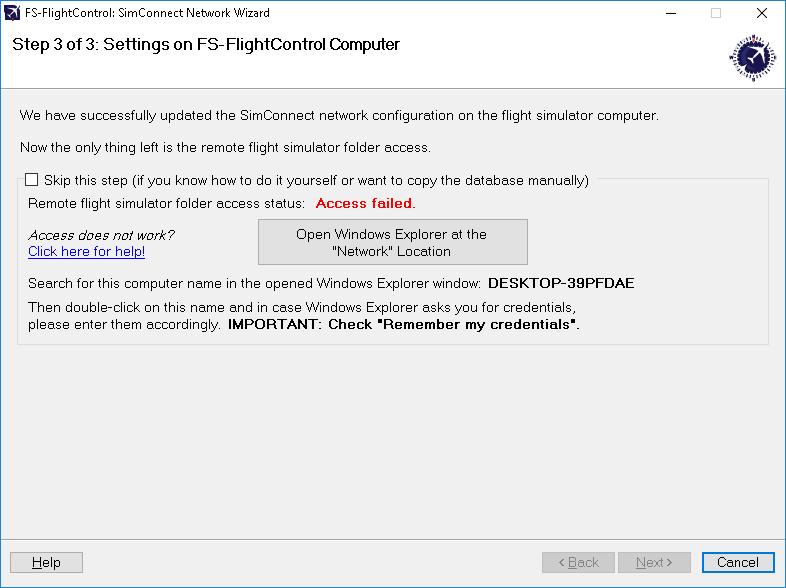
After you have started the wizard on your FS-FlightControl computer you should directly see this screen. Here we will finalize the configuration on the FS-FlightControl computer.
First please click on the button Enable SimConnect for Remote Flight Simulator Access. This will use all information collected on the flight simulator computer to setup SimConnect on your FS-FlightControl computer. In case a SimConnect configuration exists on the computer already, you will be asked to overwrite it. Please confirm that (a backup copy will be created).
Remote Folder Access
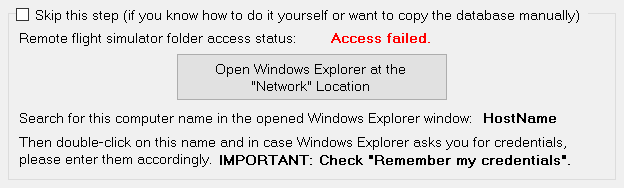
As written above already for building the FS-FlightControl database a folder access to your flight simulator computer is required. If you did not skip the corresponding Create Network Share procedure above, you can make sure now the remote access works.
To check that please click on the button Open Windows Explorer at the “Network” Location and look for the computer name as shown on the wizard page.
Then please double-click on this computer name to access it and in case Windows Explorer asks you for credentials, please enter them accordingly.
Note: It is important that you check the Remember my credentials checkbox as otherwise FS-FlightControl will not be able to access the remote folders.
After the remote folder access was verified the access status should change to Access successful. and you can click on the button Next >.
Note: If for some reason you cannot get the remote folder access to work, please skip this step and build the FS-FlightControl database on the flight simulator computer and manually copy it to the FS-FlightControl computer. Details for that are described in the Database Build section.
Finish Screen
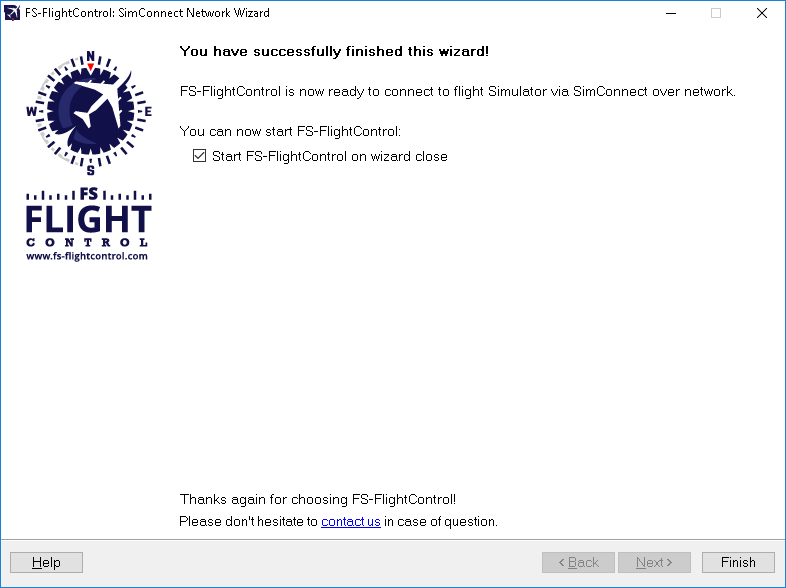
Now all SimConnect configurations are completed successfully and you are ready to start FS-FlightControl!